 (Image via
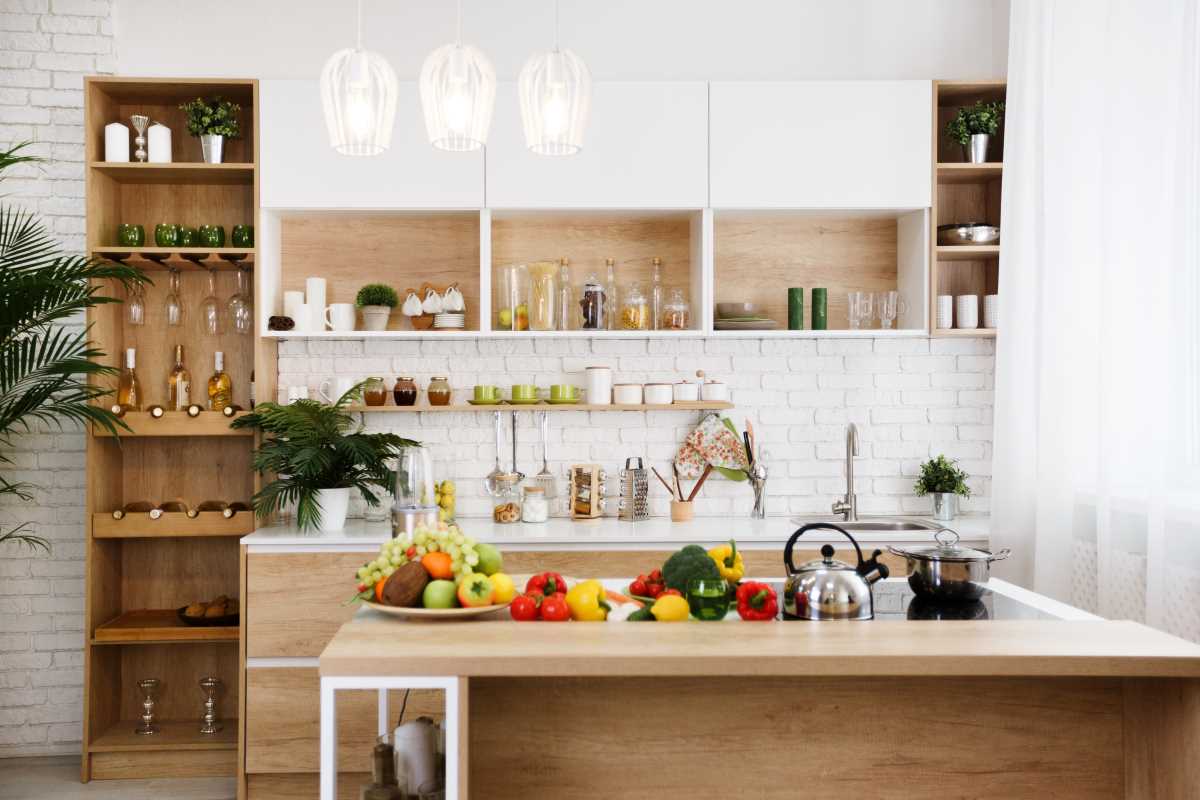
Cluttered counters and an ever-growing collection of pots can make even the simplest meal prep feel overwhelming in a small kitchen. Organizing this space requires more than simply pushing items out of sight. By making a few intentional changes, you can shape your kitchen into a place where every tool has its home and each step feels effortless. With a careful look at unused corners and clever use of vertical space, you can find room for your essentials and arrange items for easy access. Preparing ingredients, cooking meals, and cleaning up afterward all become smoother when your kitchen setup supports your routine from start to finish.
Creating Flow in Tight Spaces
Imagine preparing meals where each motion feels connected, from grabbing ingredients to plating a colorful dish. Instead of jumping between far-apart zones, you guide your hands along a predictable path. That path depends on how you position tools and surfaces. Mapping out a route builds a natural rhythm that keeps energy in the cooking—not in tracking down items.
Reconsider how you align cutting boards, mixing bowls, and storage jars to create mini workstations that flow into one another like stations on an assembly line. This sense of continuity reduces the time you spend walking back and forth. Staying within one compact area means you can clean as you go, preventing a sink piled high by the time dinner’s on the table.
Unlocking Overlooked Storage Pockets
Most kitchens hide prime real estate behind false fronts, under toe kicks, or within narrow gaps beside the fridge. When you organize small kitchens, you find slots that fit rolling bins, slim racks, or hanging rails. Unexpected drawers under lower cabinets can cradle cutting boards or cling-film rolls. Use space above overhead cabinets for infrequently used items like bulk grains in clear canisters.
Treat these hidden pockets like secret compartments in a toolbox. Assign each an exclusive function: spices, seasonings, or snack pouches. Pull-out wire shelves turn static corners into rotating treasure troves of ingredients. Those pulls reduce bending and twisting while revealing everything at a glance. Clutter disappears, and you gain quick access to what fuels your healthy kitchen habits.
Essential Steps for Daily Meal Prep
- Prep Zone Definition
- Establish a dedicated countertop strip (approx. 18 × 24 in) for chopping and mixing.
- Steps:
- Place a knife block or magnetic knife rack on one side.
- Align a small cutting board next to that edge.
- Keep a shallow tray beside the board for scraps or peels.
- Cost: under $20 for a compact bamboo board; recycled plastic tray saves money.
- Insider tip: Use a silicone mat instead of a tray to catch juices when prepping multiple ingredients.
- Multi-Tier Shelf Stack
- Use a three-level wire rack to hold bowls, cups, and jars.
- Steps:
- Secure with suction or clamp feet.
- Place heavy items on the bottom, lighter ones on top.
- Label edges with chalk stickers for easy identification.
- Size: keep rack under 12 in wide to avoid crowding.
- Insider tip: Place frequently used jars at the front edge of each tier.
- Magnetic Utensil Board
- Mount a thin steel sheet or magnetic strip on wall space.
- Steps:
- Clean and level the surface.
- Attach magnetic hooks or strong magnets.
- Group utensils by function (prep vs. flipping).
- Cost: under $15 for panel and magnets.
- Insider tip: Paint panel in a neutral kitchen tone for appeal and contrast.
- Stackable Container Rotation
- Use two sets of clear, stackable containers for vegetables and grains.
- Steps:
- Label one set for prep-day storage, the other for daily use.
- Stack similar pieces for easy sliding access.
- Wash and rotate containers after each cycle.
- Cost: $10–$15 per set at kitchenware stores.
- Insider tip: Hang lids on a small hook beneath cabinets to save time.
- Under-Shelf Baskets
- Clip wire baskets under cabinet shelves for packets and snacks.
- Steps:
- Measure shelf thickness before buying clips.
- Space baskets evenly to prevent overcrowding.
- Place lighter items in front, heavier ones in back.
- Cost: about $8 per basket.
- Insider tip: Line baskets with thin bamboo mats to prevent jars from slipping.
Building Rhythm with Prep Stations
- Identify three main tasks—washing, cutting, and cooking—and give each a specific spot within six feet of the others. Choose a colander that fits well in your sink for washing, place the cutting board at arm’s reach from the sink’s edge, and keep your portable induction burner or stove top just beyond the counter lip to maintain flow.
- Set a consistent timing for each stage by using a clip-on kitchen timer. Attach it to a cabinet hinge near the washing station, wind it for discreet pulses between tasks, and respond when the alarm buzzes to move on without checking your watch.
- Keep a running list of ingredients you will need next, pinned on a magnetic clip beside your utensil board. Write down items as you finish using them to avoid unnecessary trips. Cross off each note once you restock, and store old lists in a small box under the sink.
By rethinking how you organize narrow aisles and cramped cabinets, you create a layout that feels spacious even when your square footage is limited. Building clear paths and utilizing hidden corners set the stage for cooking that is quick, enjoyable, and easy to follow. Incorporate these changes, and your kitchen will handle healthy meal prep as smoothly as a well-oiled machine.
As you make adjustments, your space will become more organized. Soon, you will find every ingredient and tool exactly where you need them, creating a smoother cooking experience.